
Step 01
Consultation & Site Assessment
We begin by understanding the space, intended use, design direction, and existing substrate. The site is reviewed so the appropriate preparation and flooring system can be planned before work begins.
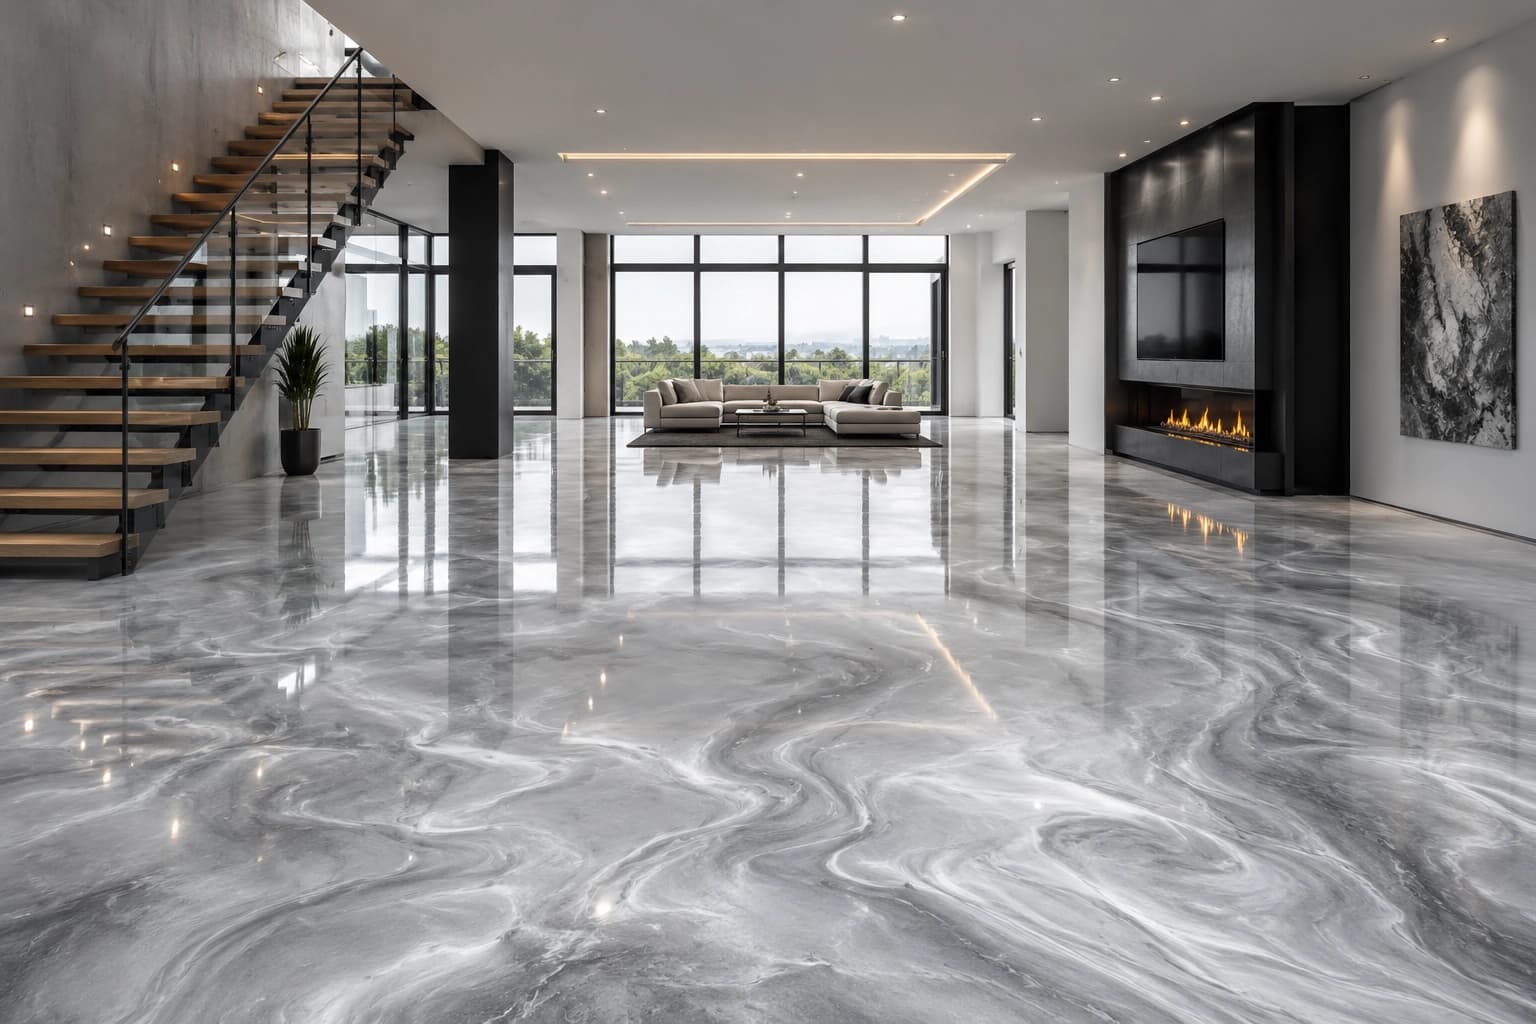
Our Process
A successful epoxy floor begins long before the final finish is applied. From initial assessment through preparation, application, curing, and handover, every stage is approached with care and precision.
The Capital Epoxy Process
Our process is designed around proper preparation, controlled application, and careful finishing. Each stage builds on the one before it to create a surface that looks considered, performs consistently, and is ready for its intended environment.
From First Review to Final Handover
Eight connected stages. One considered result.
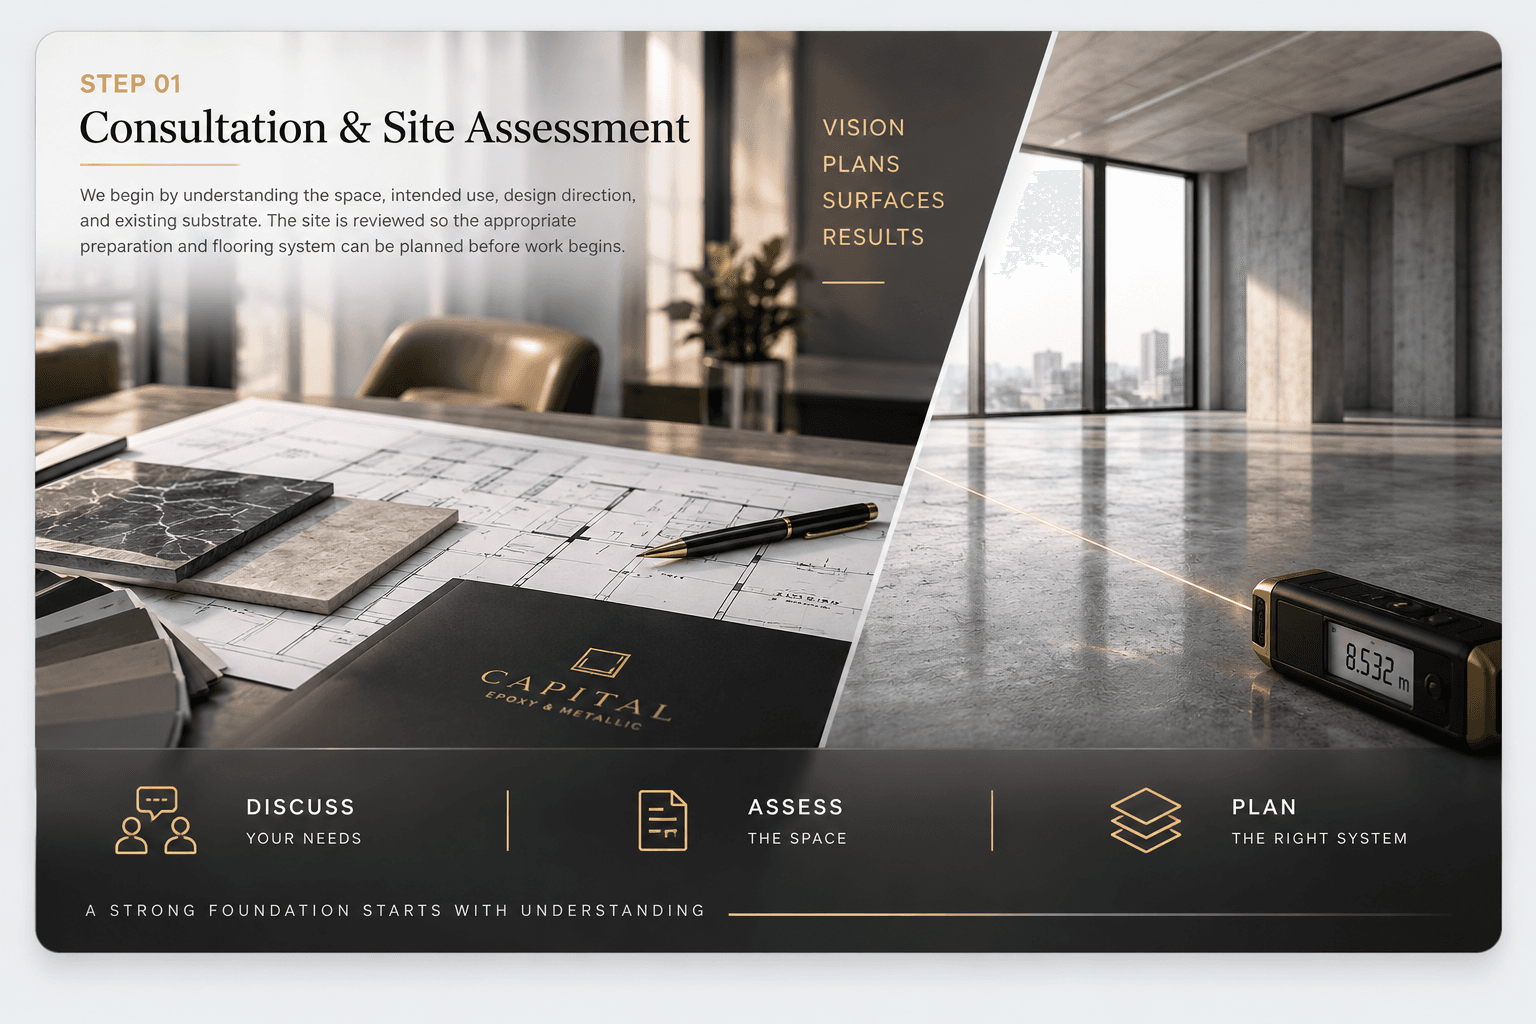
Step 01
We begin by understanding the space, intended use, design direction, and existing substrate. The site is reviewed so the appropriate preparation and flooring system can be planned before work begins.
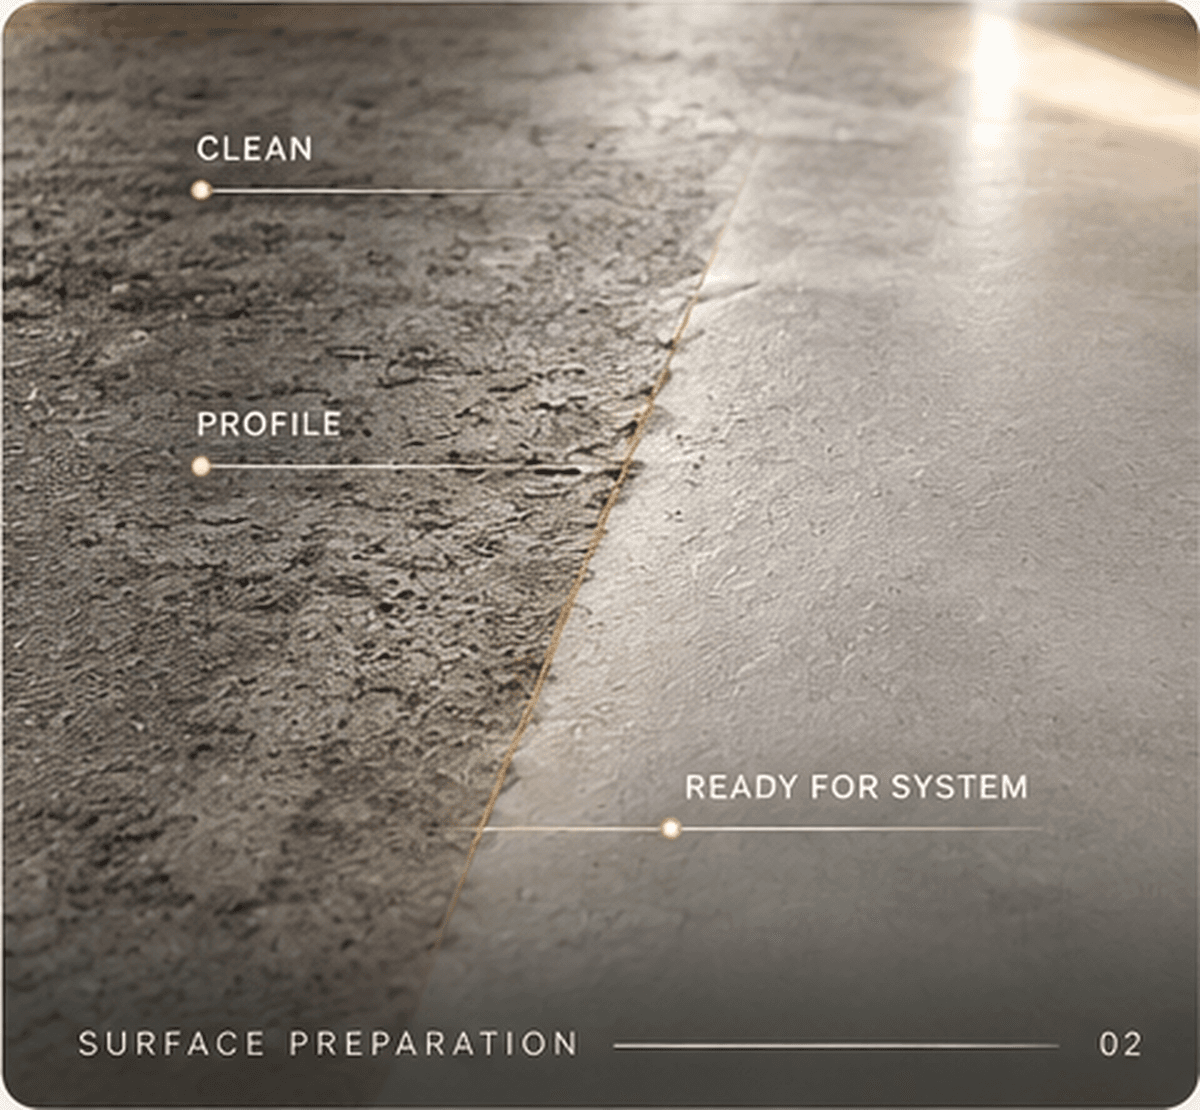
Step 02
The existing surface is prepared to create the proper foundation for adhesion. Depending on site conditions, preparation may include grinding, cleaning, removal of contaminants, and opening the concrete profile.
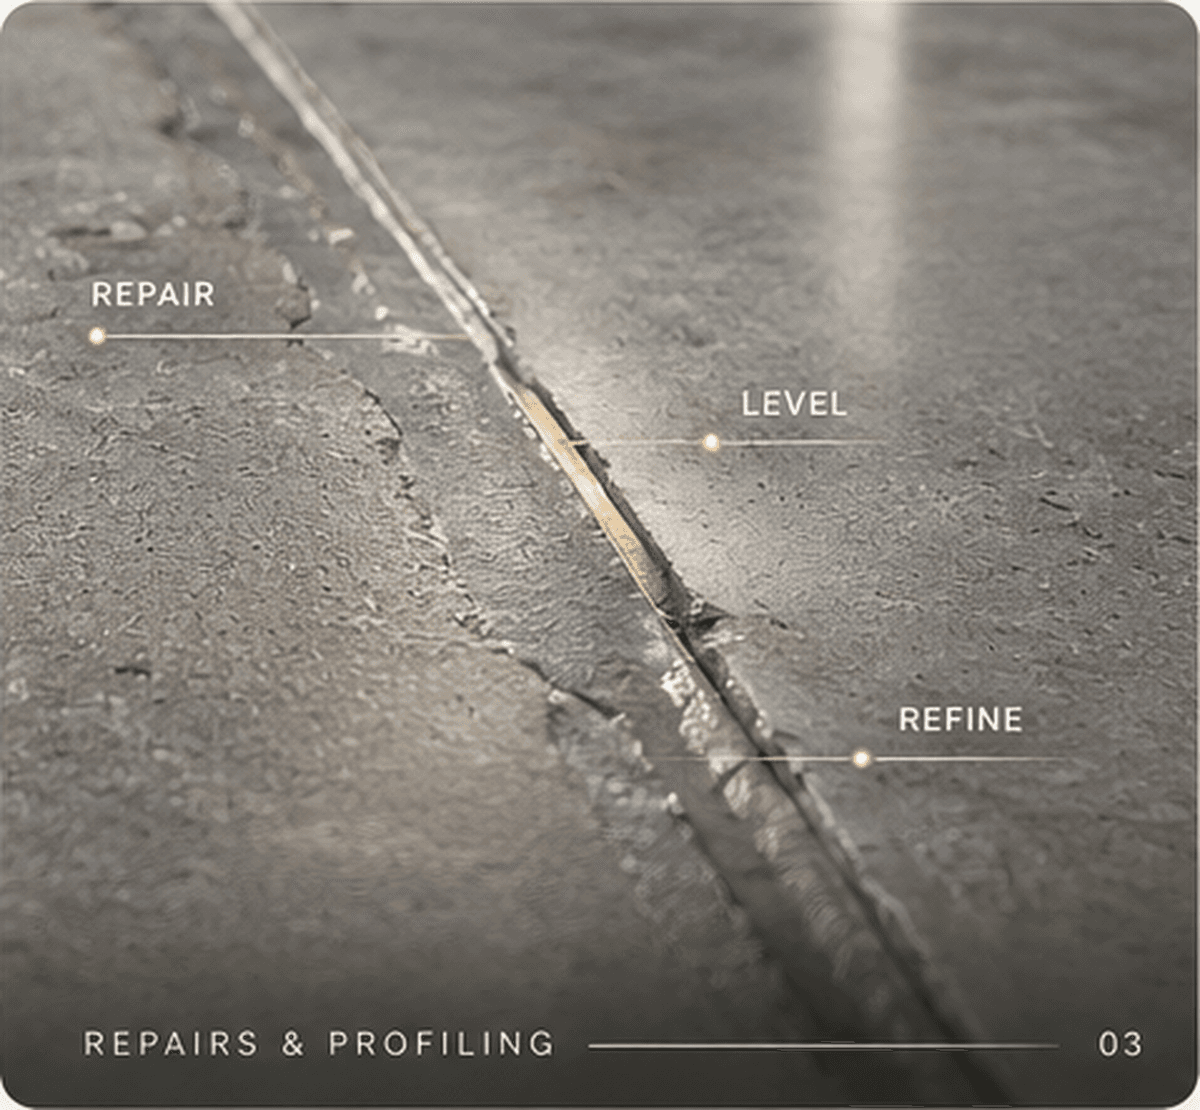
Step 03
Cracks, joints, damaged areas, and visible imperfections are addressed where required. The objective is to create a stable and consistent surface before the coating system is applied.
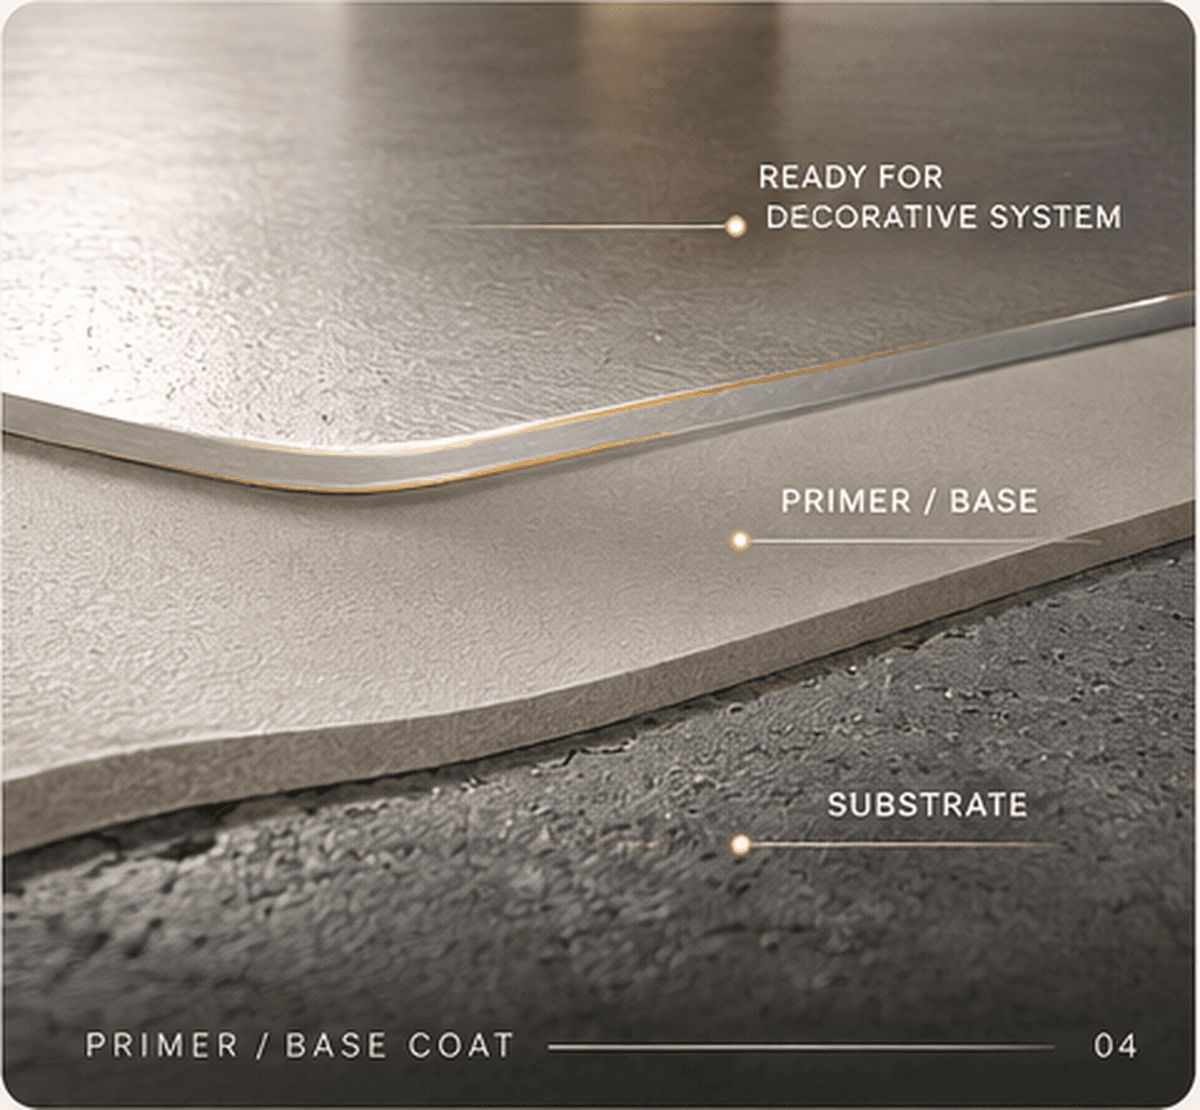
Step 04
The appropriate primer or base layer is applied to establish a consistent foundation for the selected system and prepare the surface for the decorative stage.
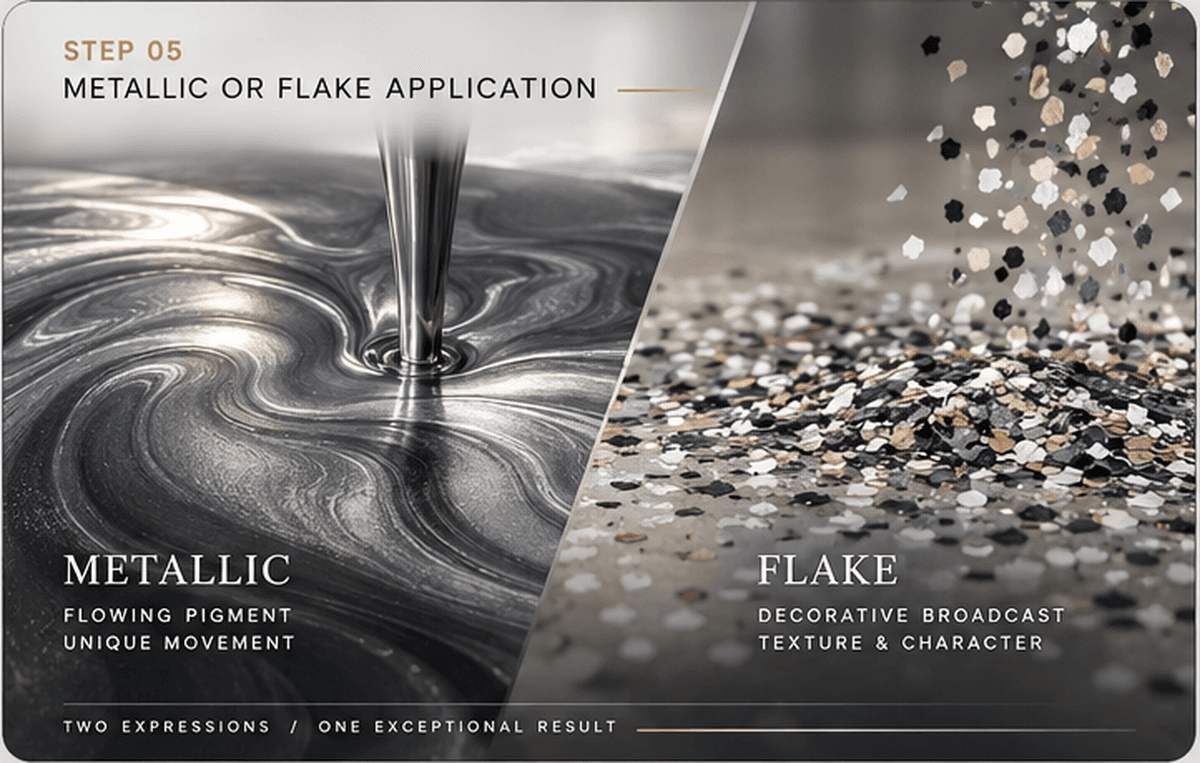
Step 05
The decorative system is applied according to the selected finish. Metallic systems are developed for movement, depth, and visual variation, while Flake systems use broadcast decorative chips to create texture and a distinctive blended appearance.
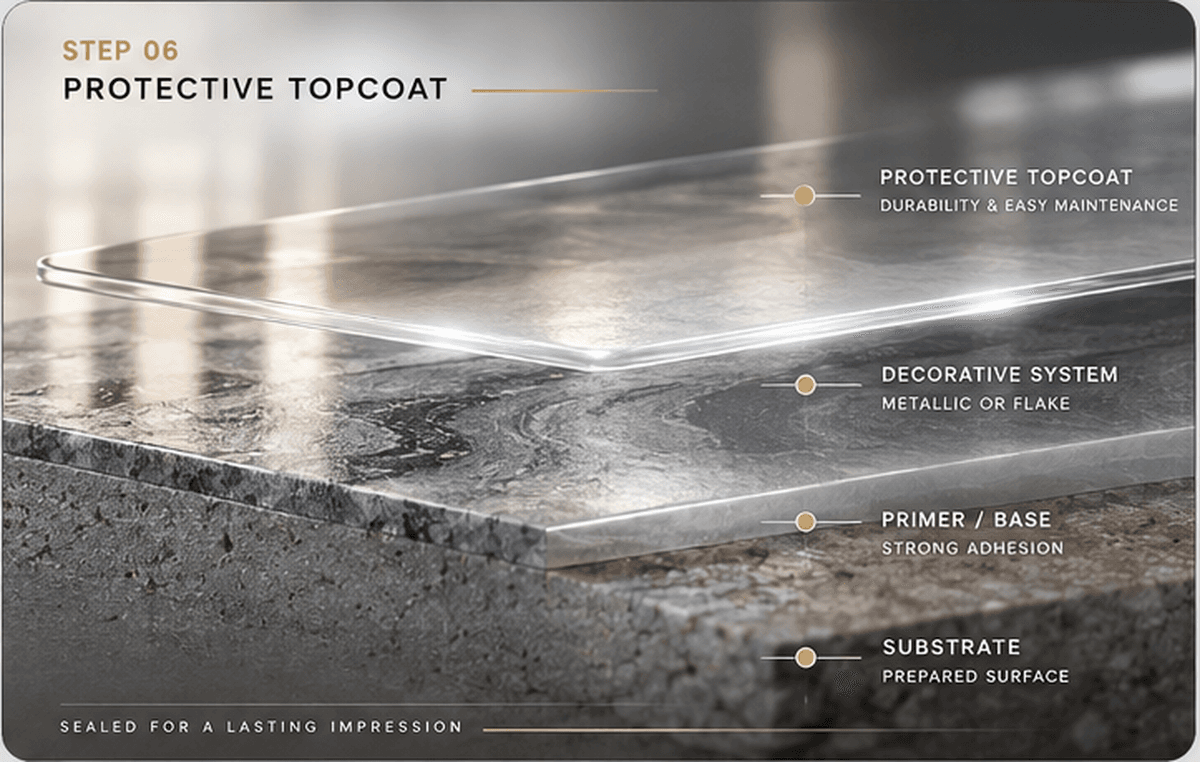
Step 06
A protective finishing layer is applied according to the selected system and project requirements, completing the surface and helping protect the decorative treatment beneath.
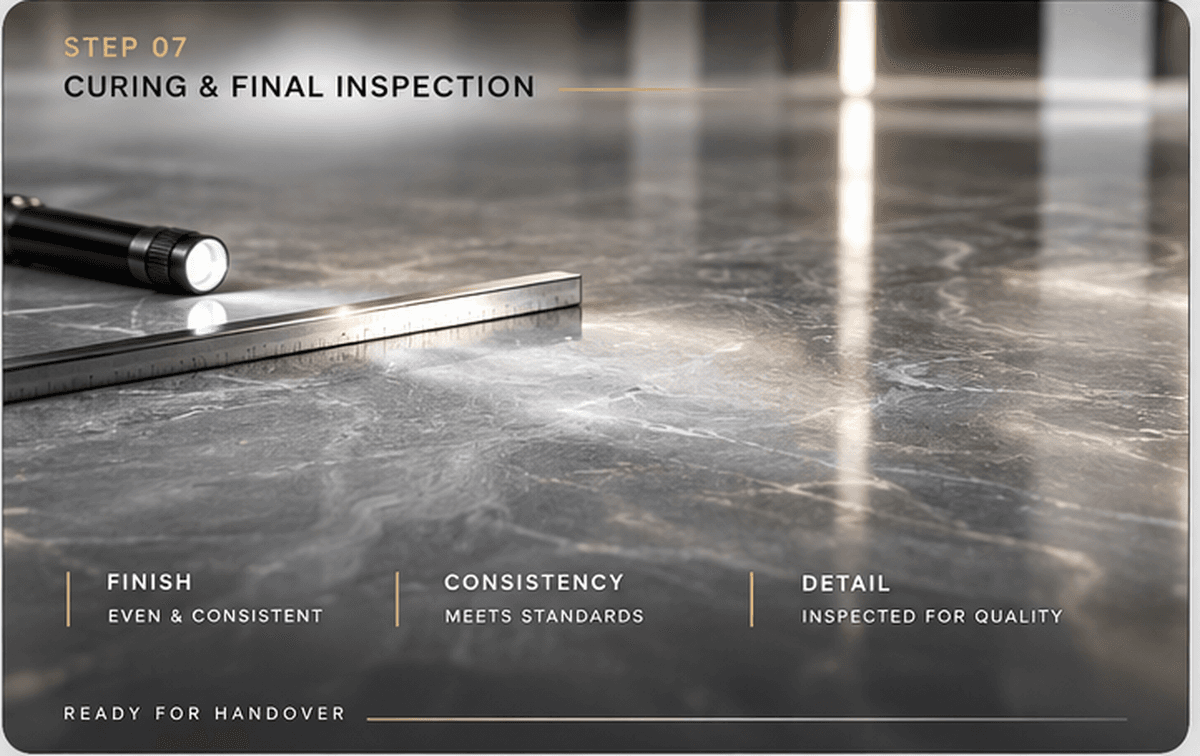
Step 07
The finished system is allowed to cure before the area is reviewed. The completed surface is inspected for consistency, finish quality, and readiness for handover.
Step 08
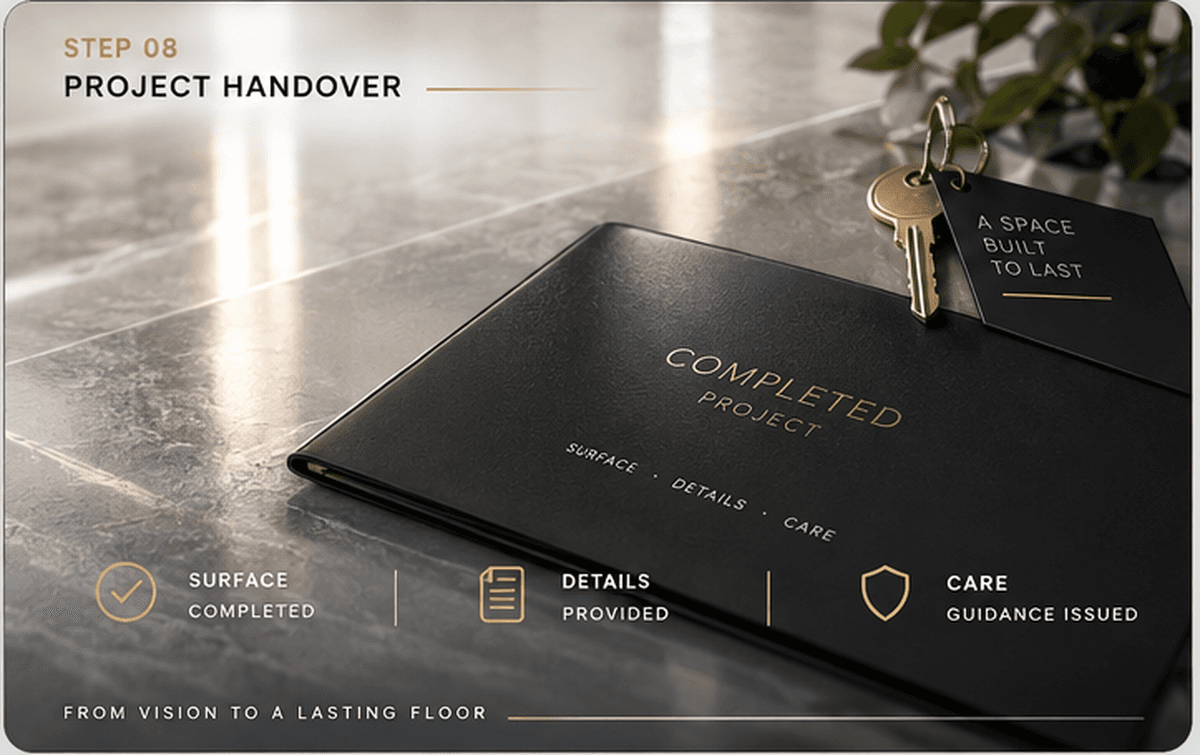
The completed floor is presented to the client along with the relevant care guidance for the installed system. The project is then formally handed over and ready for use once curing requirements have been satisfied.
Two Systems. One Standard.

Designed around flowing pigments, layered movement, and visual depth. Each metallic installation develops its own character through controlled application and the interaction of color across the surface.
Explore Metallic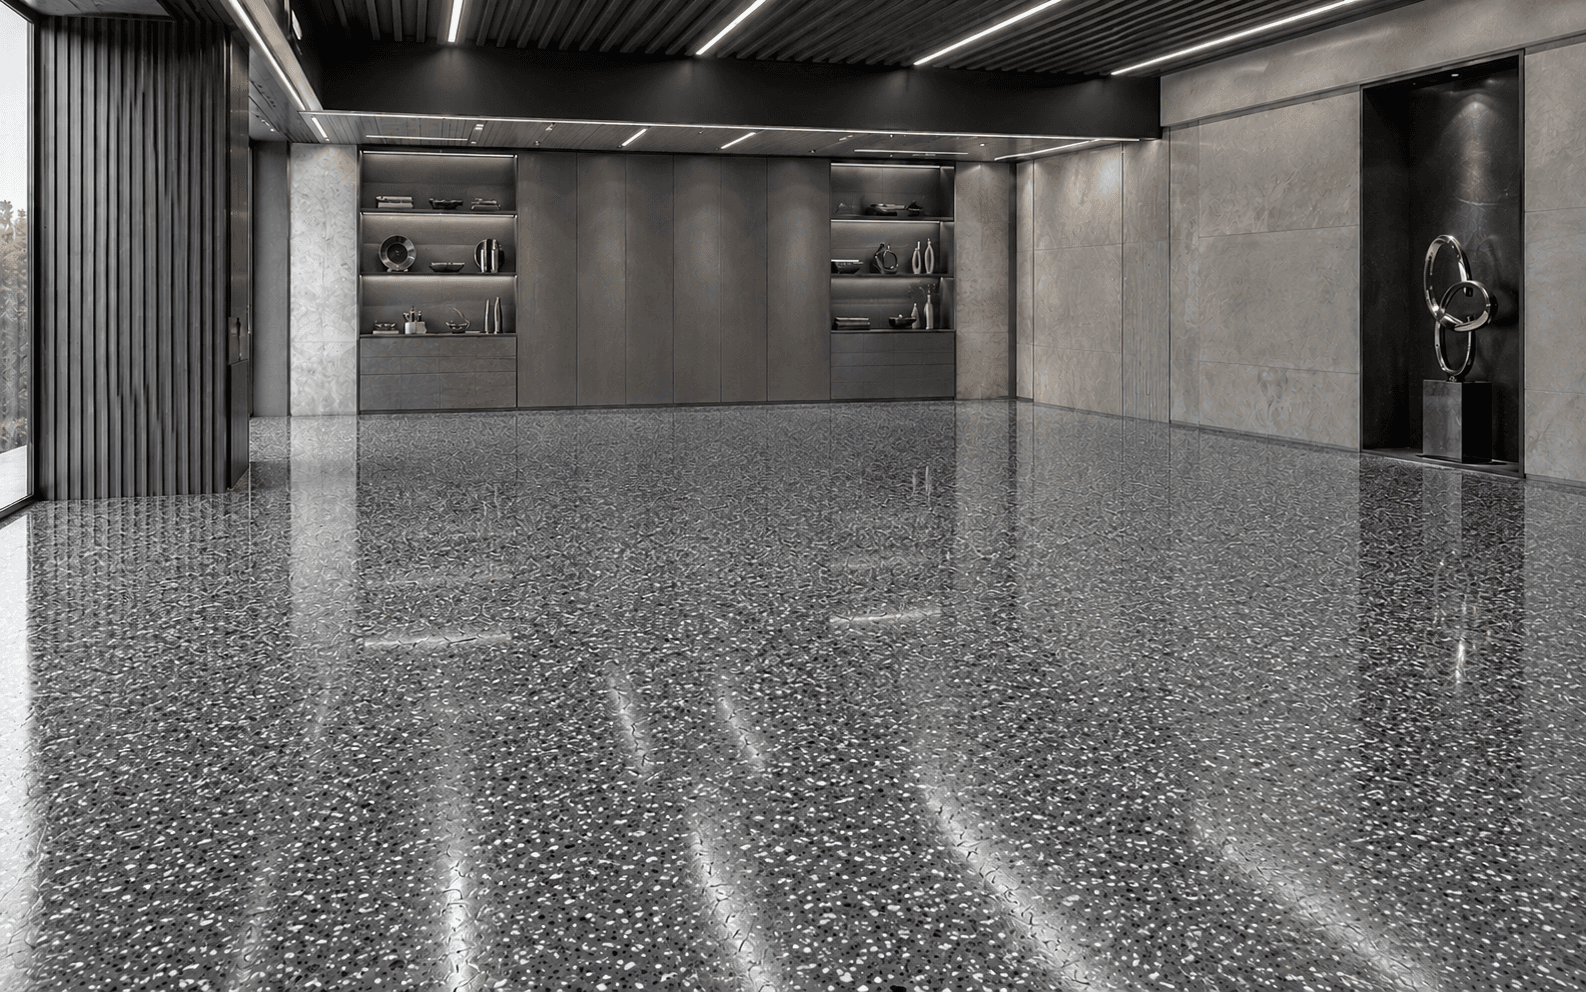
Built around decorative chip blends distributed across the coating system to create a textured, multi-tone surface with a distinctive architectural character.
Explore FlakeFinal Check
Before handover, the completed surface is reviewed as a whole—from finish consistency and edge conditions to the final presentation of the space. The objective is a clean, considered result that is ready for the client.
Ready to Start?
Tell us about your space, preferred system, and project requirements. We’ll help you take the next step.